Bug Details
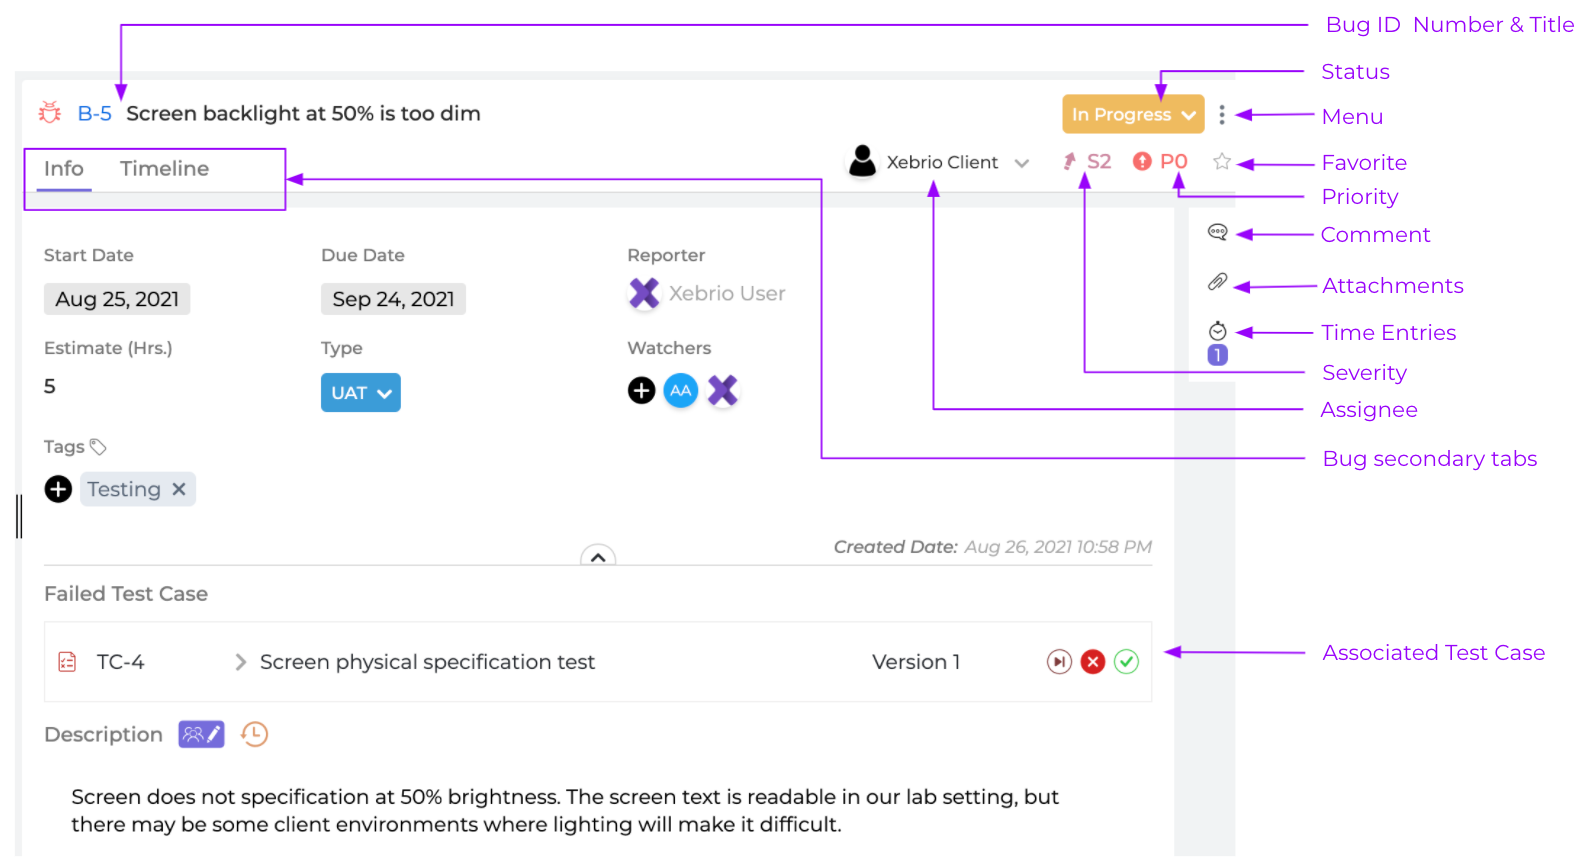
- Bug ID Number - The bug number is generated by Xebrio in order of creation. This cannot be edited. An example of a bug ID is B-1.
- Bug Title - This can be edited at any time by hovering the mouse over the current title until the
edit button appears. Edit the title and click
to save, or click
or outside the title edit area to cancel editing.

- Status - The default status for a bug upon creation is Open. To change the status, click on the dropdown on the right to select the bug's current status. There are nine system default statuses available in Xebrio - Open, Blocked, Closed, Deferred, Duplicate, Fixed, In Progress, Not a bug, Reopened. Project owners and users with access to configure project settings can also add custom statuses, which are created and added to a project in the project's Settings menu.

- Menu
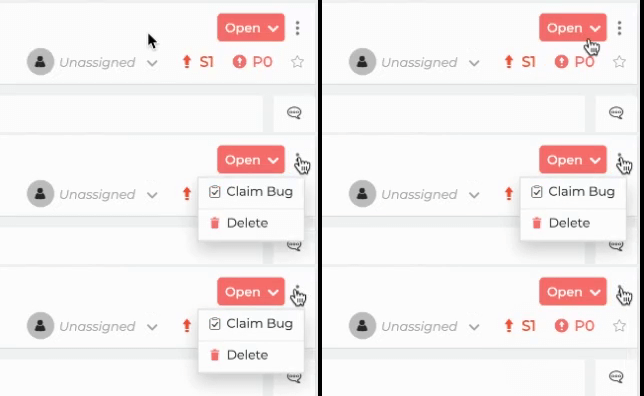
- When you click on the Menu button, you will either be able to claim the bug or delete the bug. Deletion of a bug is allowable under certain conditions. If the bug is unassigned or assigned to someone else you will be able to claim it.
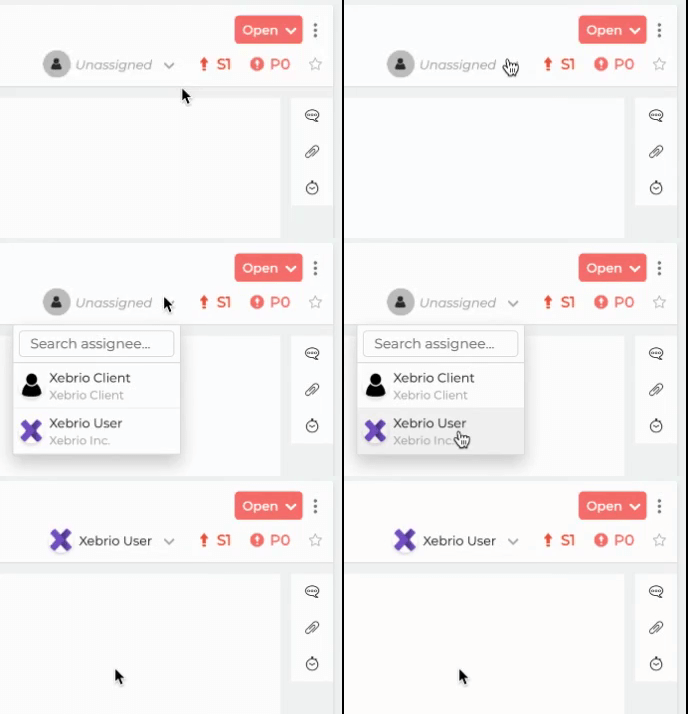
- Assignee - The assignee is the team member who owns the resolution of the bug. When a bug is first created, the default assignee is Unassigned. Click on the current assignee to view a drop down of available members to for whom to assign the bug. The assignee will receive a notification in their Notifications tab that the have a new bug assigned to them.
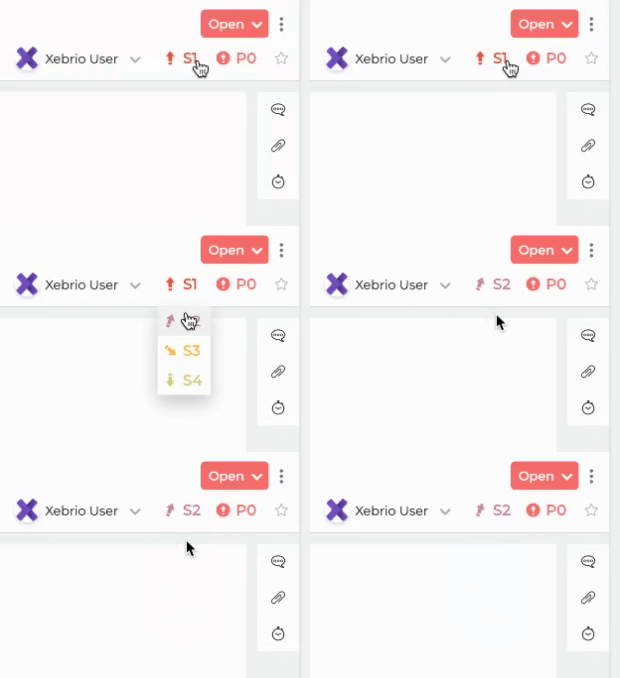
- Severity - Designate a severity for the bug. To edit, click on the current severity and select the desired bug severity from the dropdown. Bug severities range from from S1 to S4. At bug creation, the bug severity is set to S1, by default. In general, the severities are designated as:
-
- S1 - Critical Impact
- S2 - Significant Impact
- S3 - Minor Impact
- S4 - Cosmetic
-
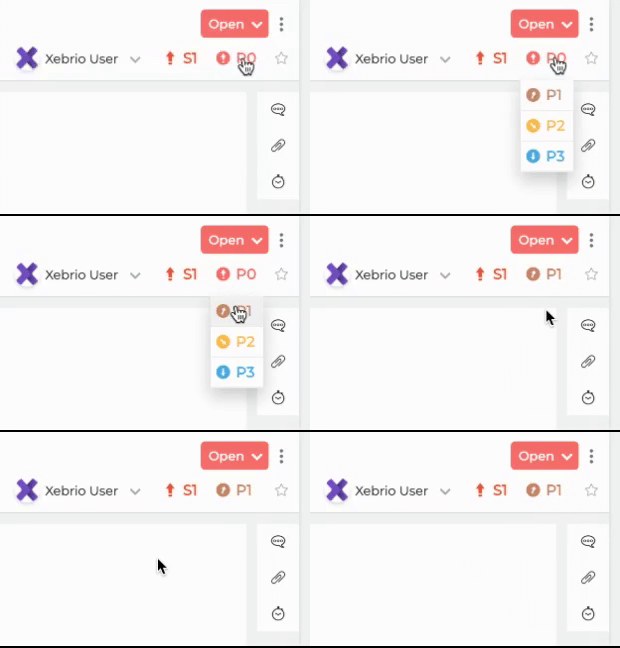
- Priority - Designate a priority for the bug. To edit, click on the current priority and select the desired bug priority from the dropdown. Bug priorities range from from P0 to P3. At bug creation, the bug priority is set to P0, by default. In general, the priorities are designated as:
-
- P0 - Essential product feature
- P1 - Important, but the product can work without these
- P2 - Nice to have, but not required
- P3 - Informational only that can wait
-
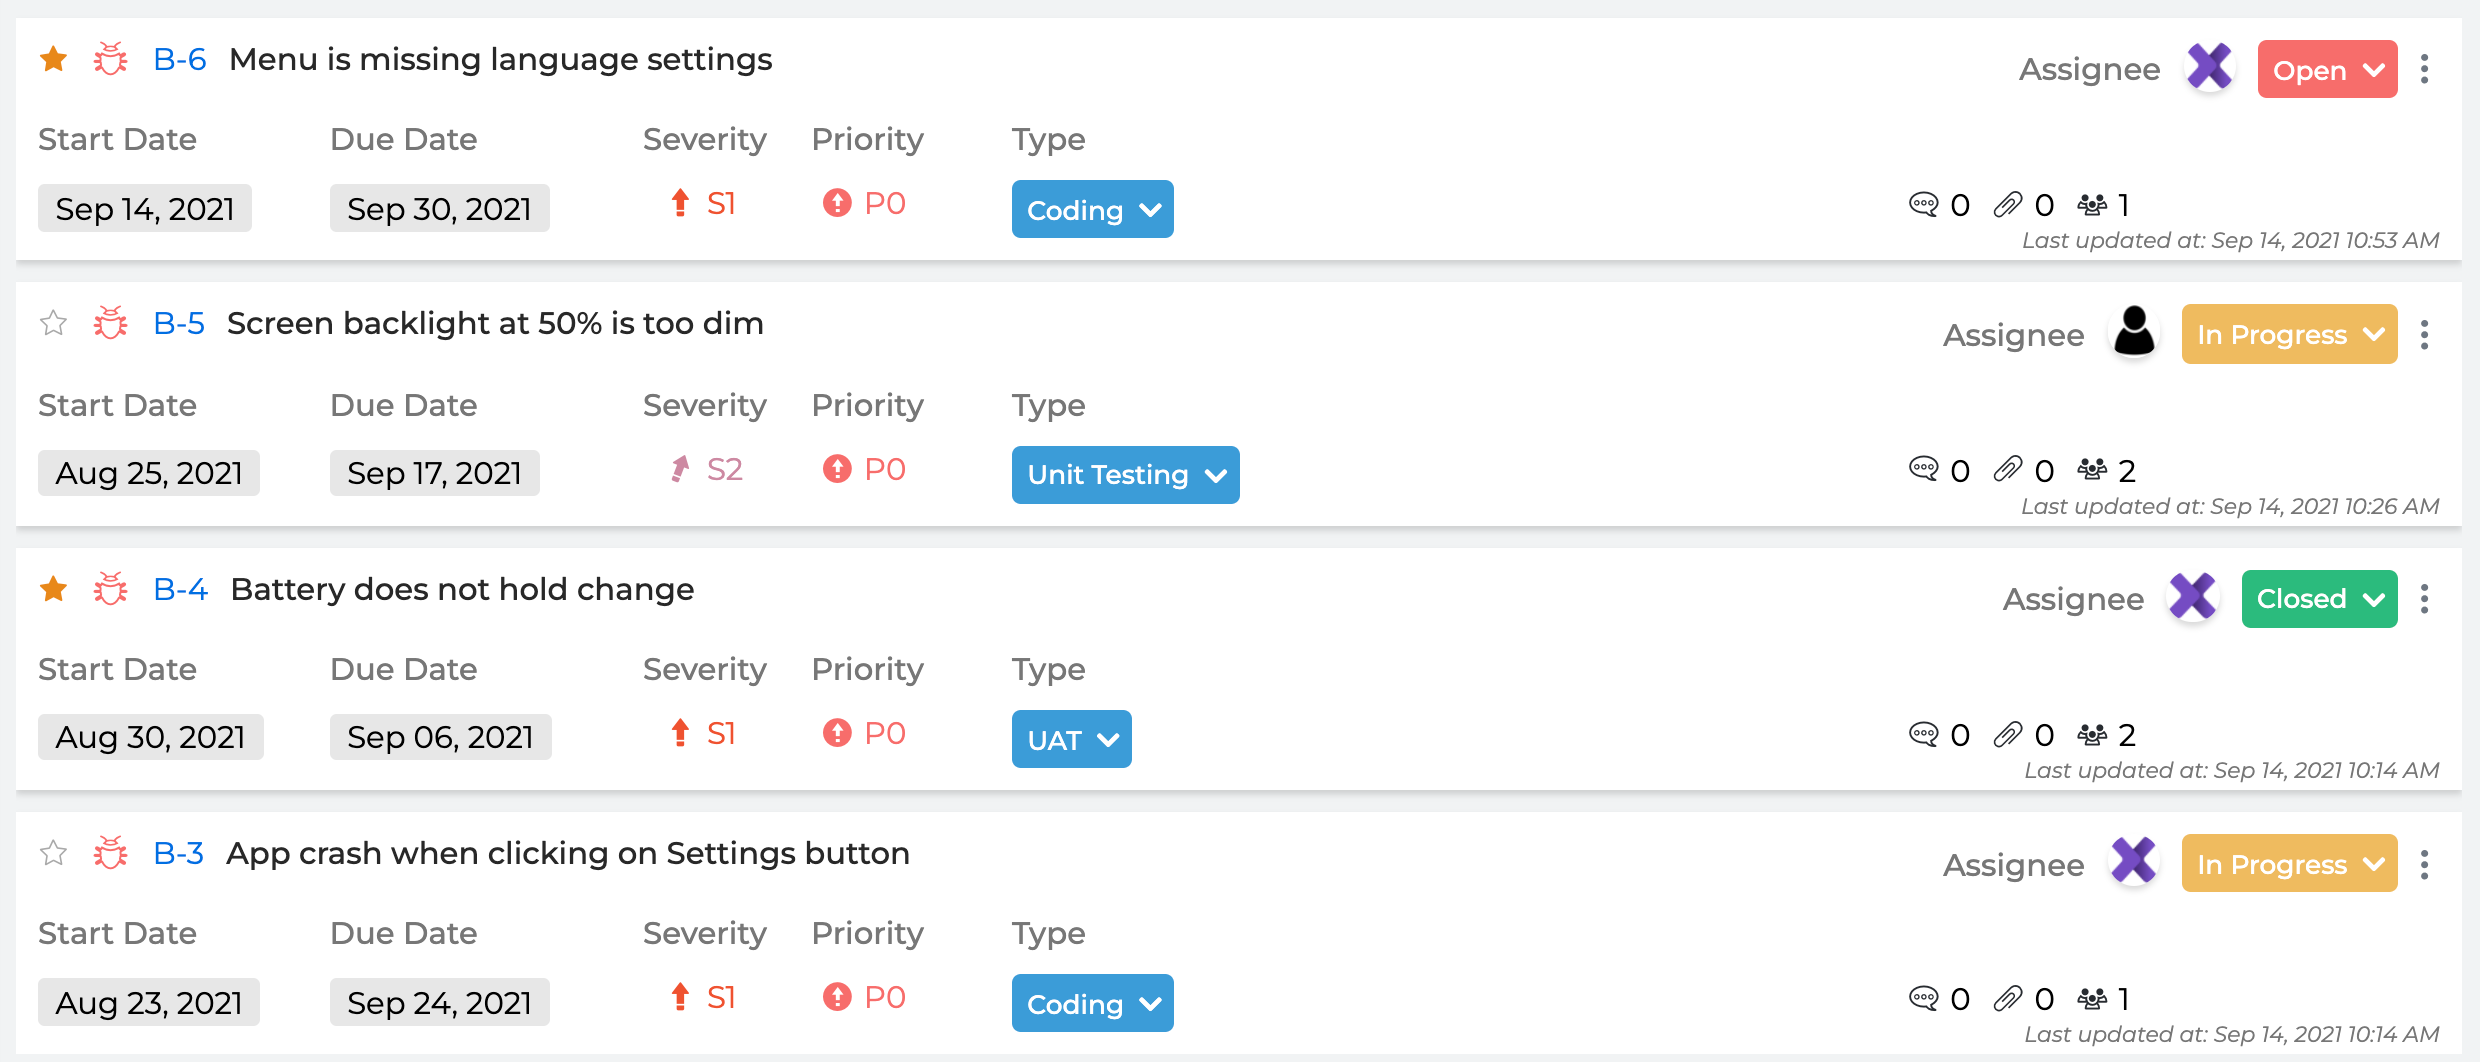
- Favorite - Click on the star to designate the bug as a favorite
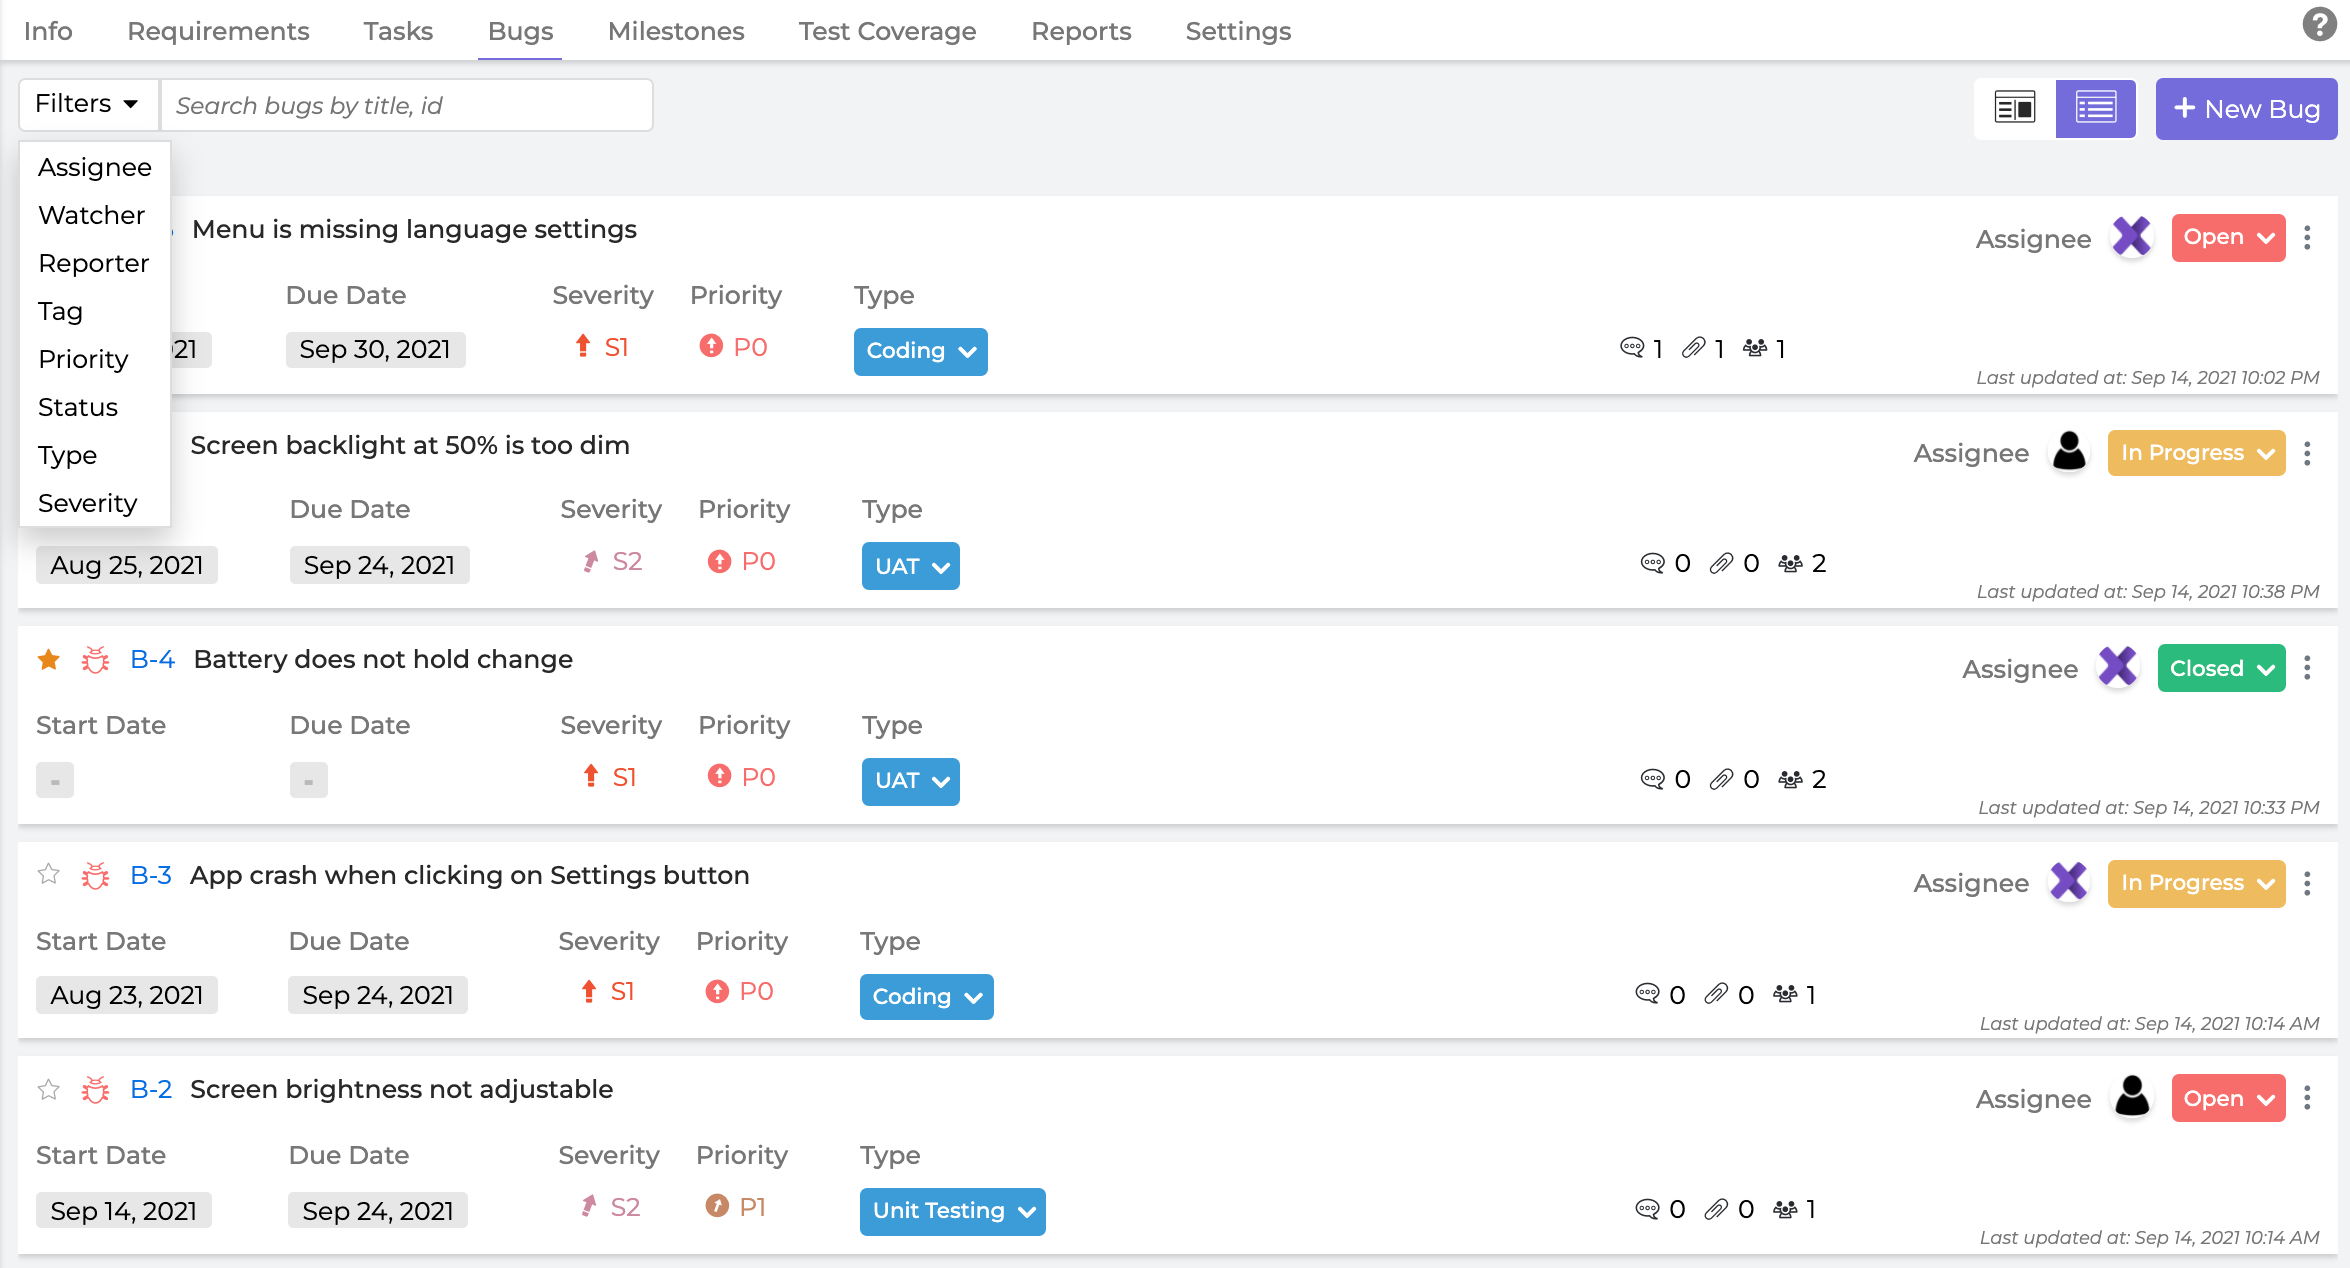
 . Favorites will easily be seen in the bug list view and is also a search filter.
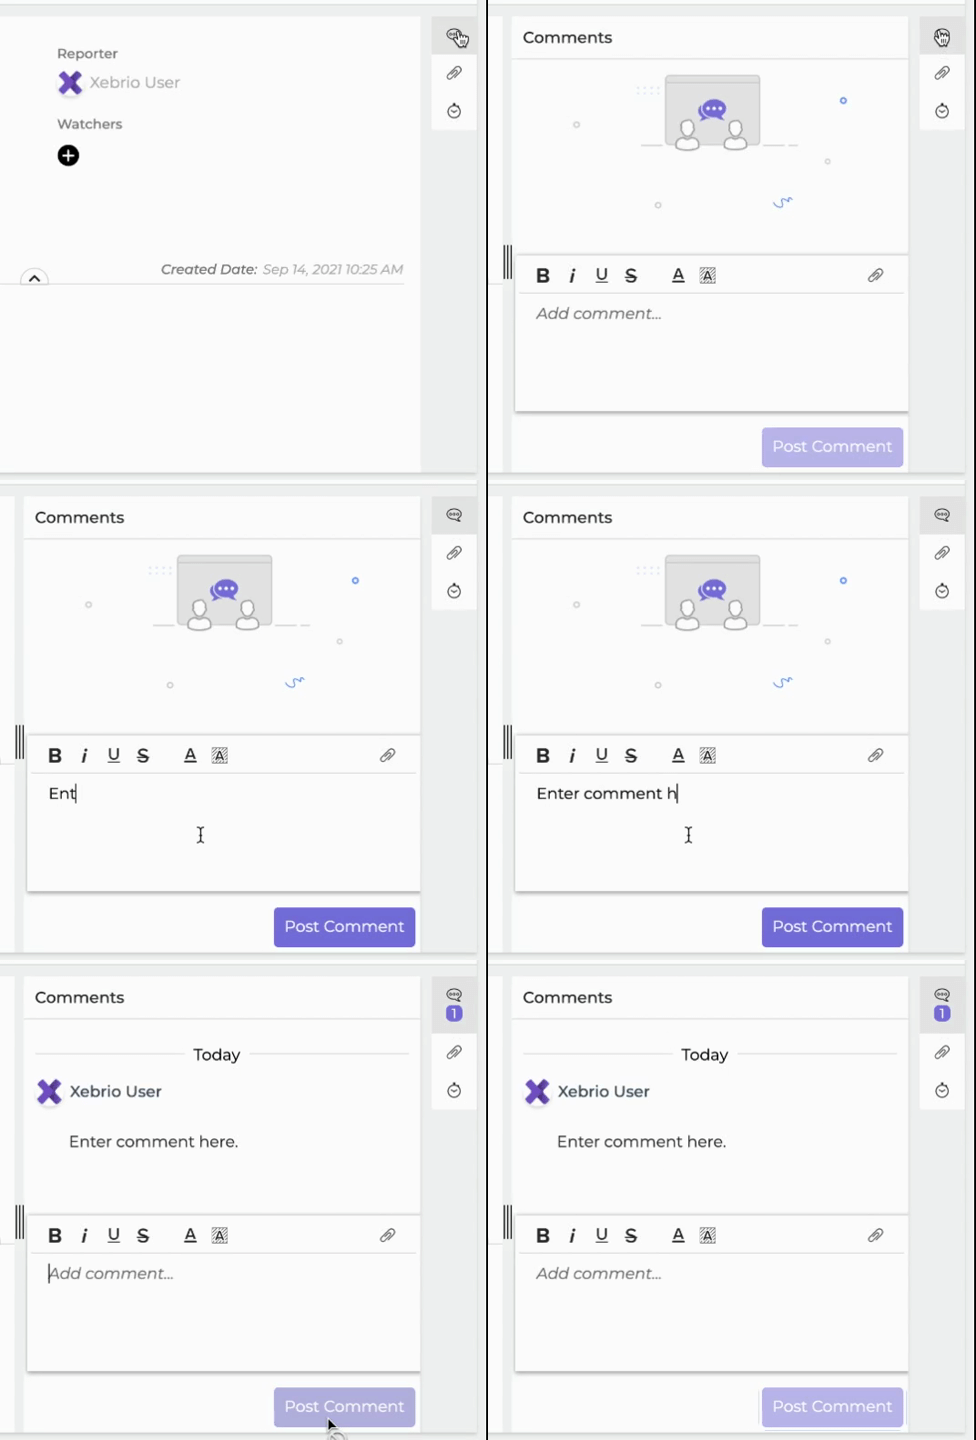
- Comment - Comments can be made to a bug under the comments section
on the right side vertical menu. To reply to a specific comment, hover over the comment until the horizontal menu
appears where you can click and choose to reply.
If you made a comment, you can edit, reply, or delete it. A deleted message will still appear as a message reading "Deleted message".
A purple highlighted number below the comments icon specifies the number of comments.
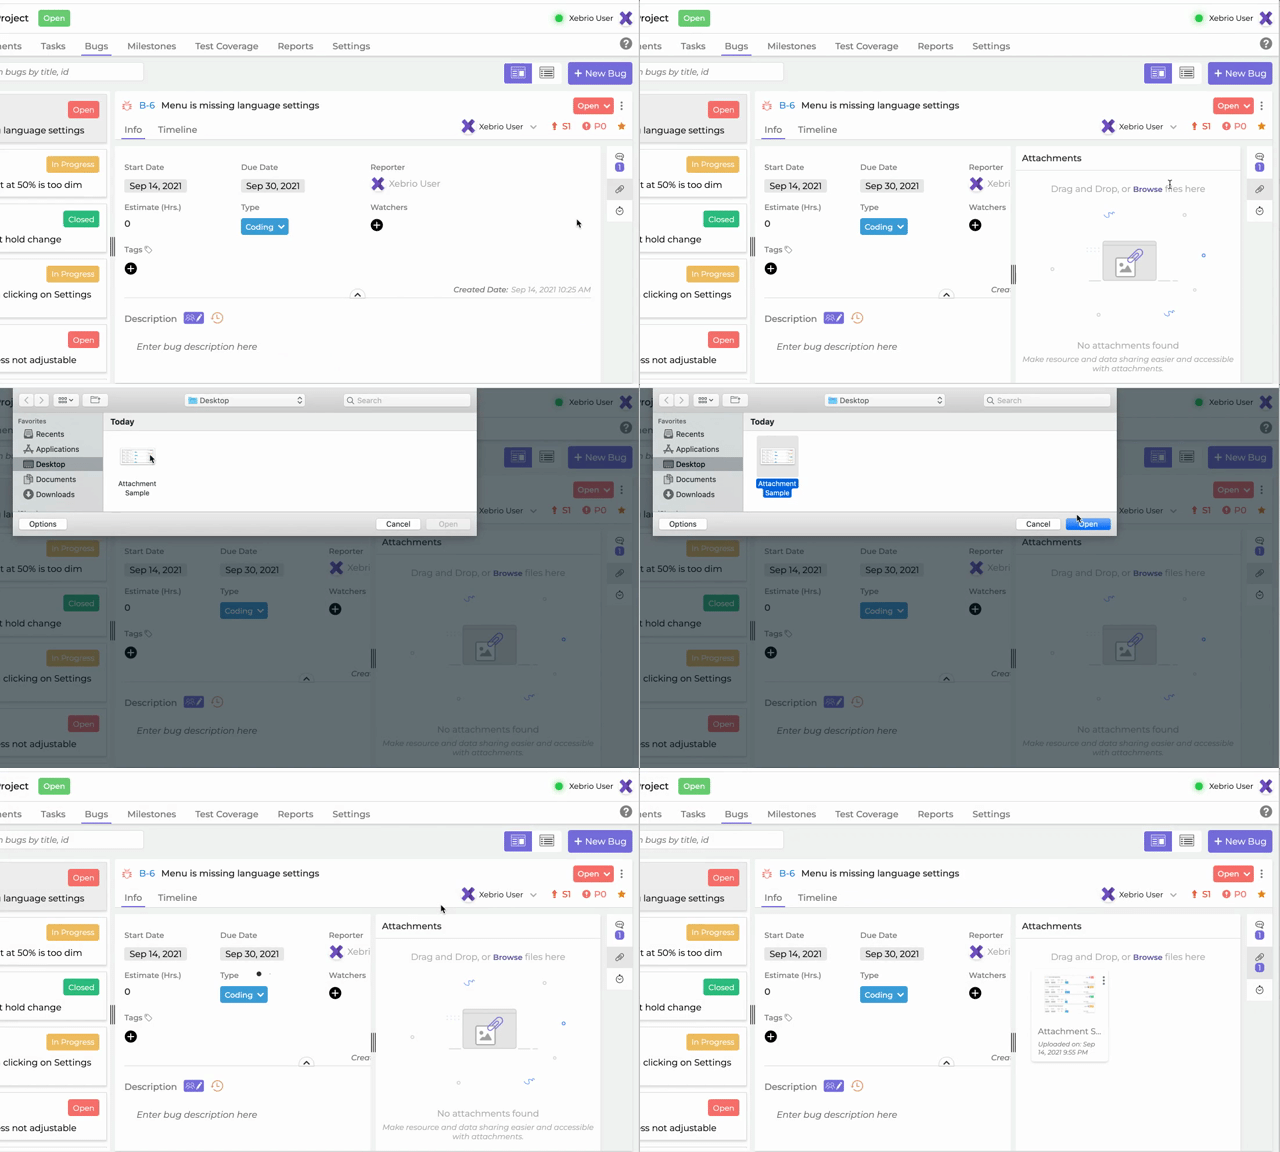
- Attachments - To help with collaboration and allow resources and data to be more accessible. files can be attached to bugs. Attachments can be added to a bug using the attachments section
on the right side vertical menu. Once attached, each attachment will have a vertical menu
for which you can click to either download or delete the attachment. A purple highlighted number below the attachment icon
specifies the number of existing attachments.
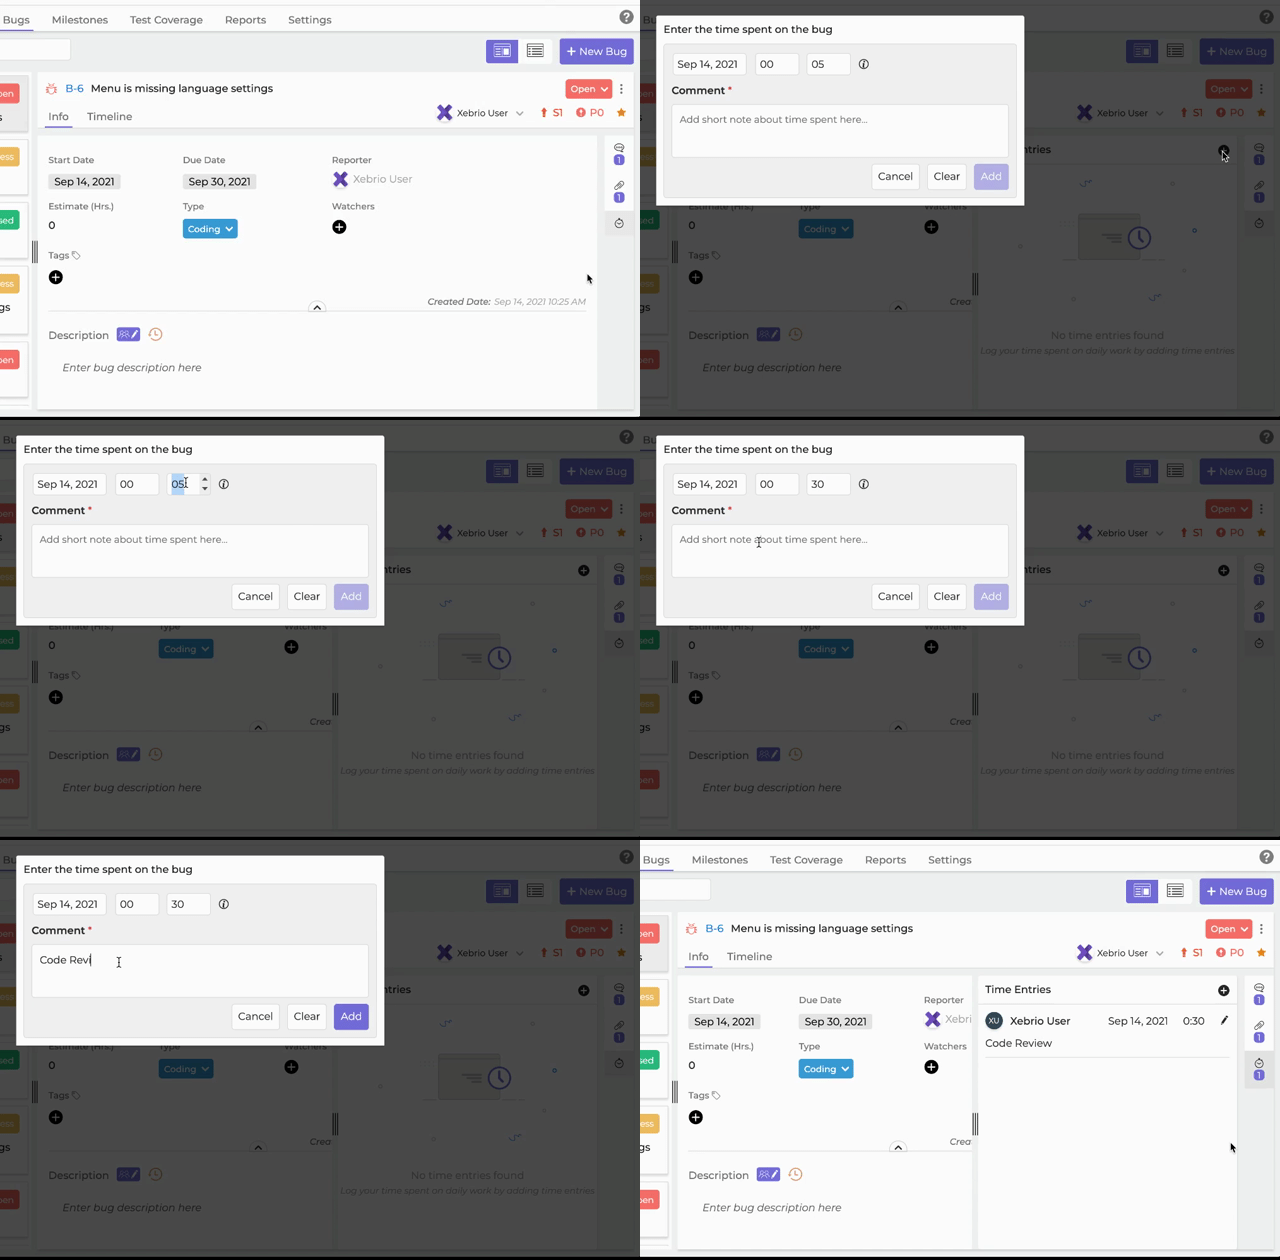
- Time Entries - Team members can keep track of the time spent on each bug and analyze which bugs require more time to plan better. To do this, click the time entry icon
in the right side vertical menu. Click the add icon
to enter the time and a short description of the work being done.
Time entries cannot be recorded for future dates nor dates prior to the project start date. Nor can entries fall outside the timeframe between the Start and Due dates of the bug. Entries must be at least 5 minutes.
- Reporter - The reporter is the team member who created the bug. This field is not editable.
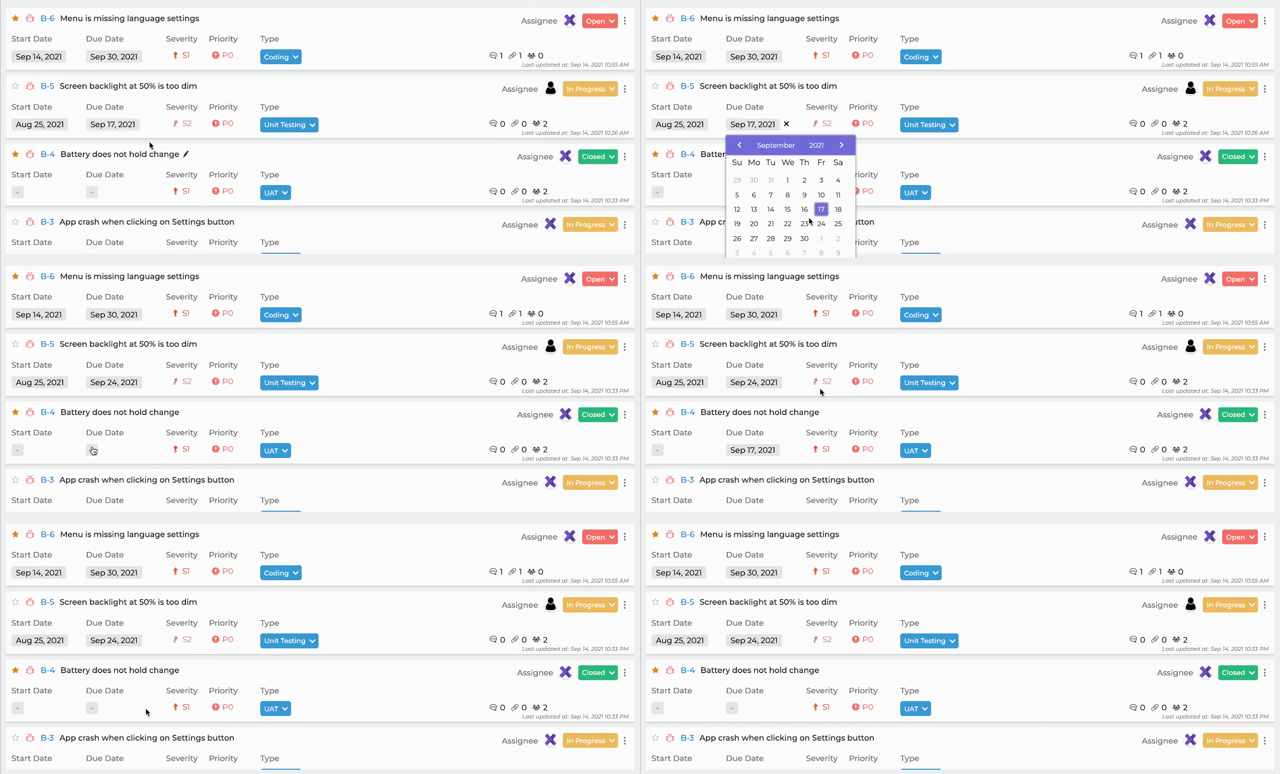
- Start and Due Dates - If you would like to set a start and due date for the bug, you can do so in the details area under the Start Date and Due Date fields. Upon creation of a bug, the default is a blank field set with a hyphen (-) below dates. To set a new date, click on the hyphen (or the current date) and select the desired date from the pop-up calendar.
To remove a date, hover over the current date until an appears which you can click to keep the specified date field blank.
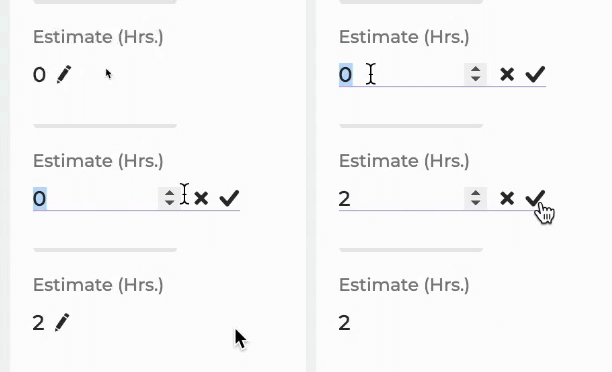
- Estimate (Hrs) - To add a time estimate for the bug, hover your mouse over the current estimate time (which at first creation is defaulted to 0 hours) and click
when it appears. In the input field, enter in a number or use the up
and down
arrows to add/edit the estimate for the bug. Click
or press enter to set the changes, or click
or outside the edit area to cancel changes. Estimates can only be integers.
 c
c
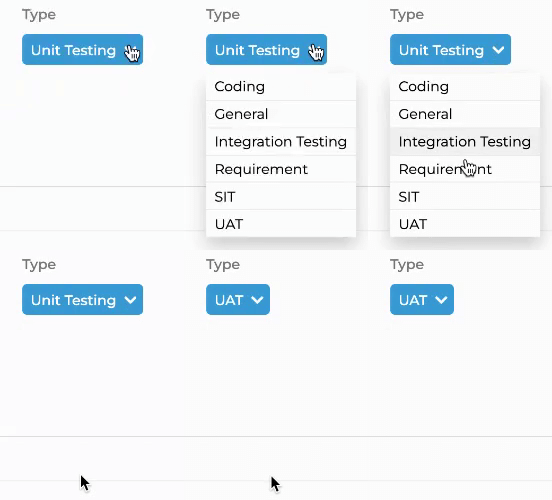
- Type - The default type for a bug upon creation is General. To change the type, click on the dropdown and select the new desired type. There are twelve system default types available in Xebrio: Unit Testing, Coding, General, Integration Testing, Requirement, SIT, UAT.
Project owners and users with permissions to configure project settings can add custom types, which are created and added to a project in the project's Settings menu.
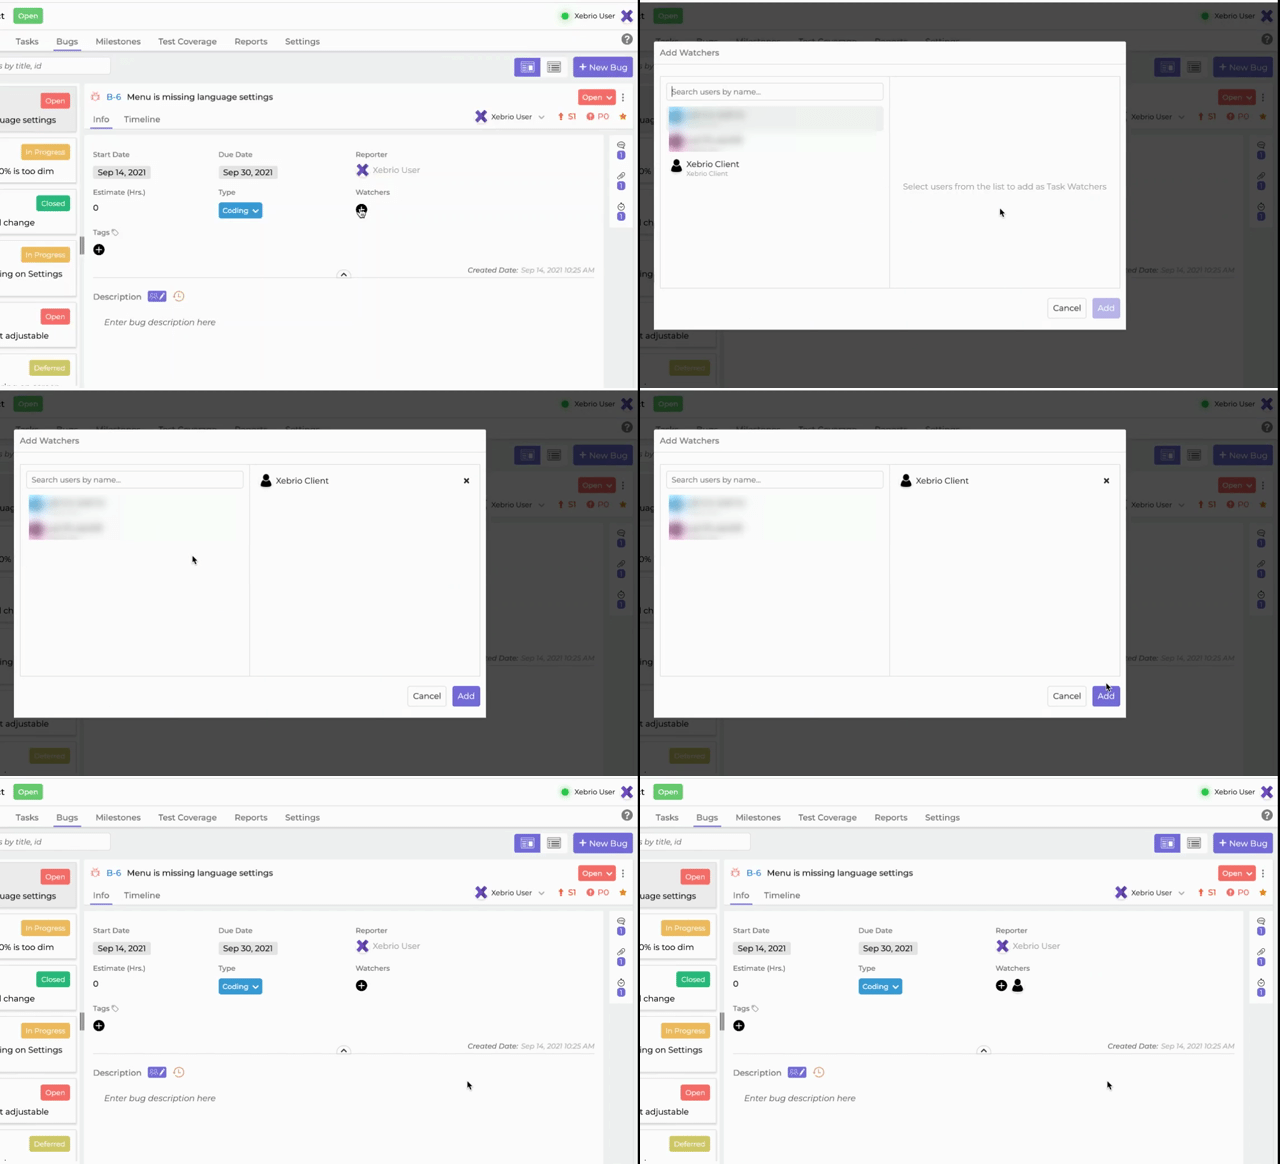
- Watchers - You can add team members to be watchers for a bug. Click the add icon
under the Watchers field and choose the users to be added.
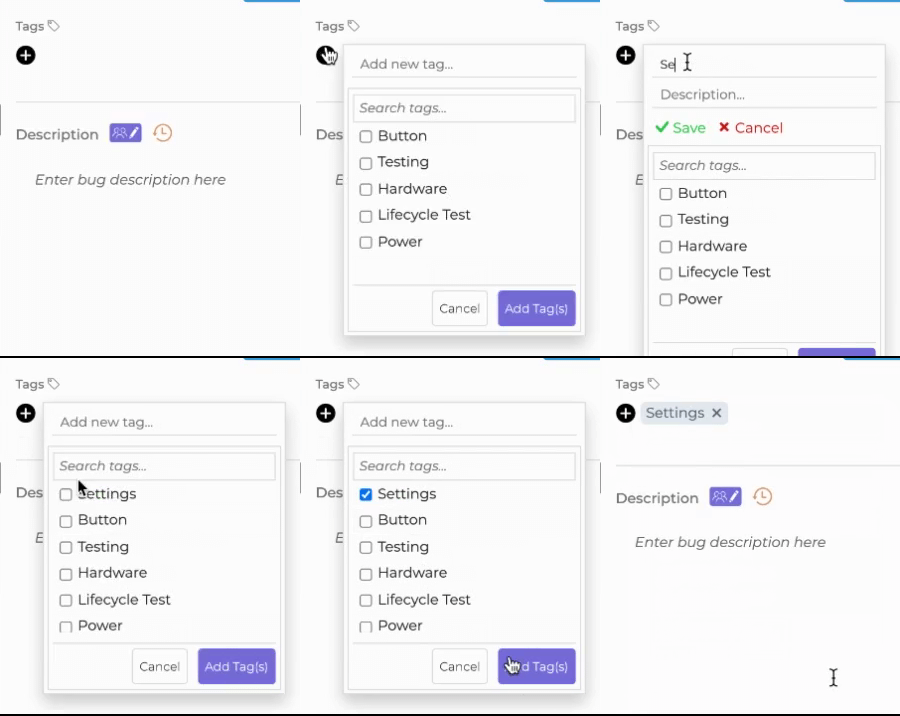
- Tags - Tags can be created to categorize and filter bugs, and to customize what your bug list looks like. Click the add icon
next to the Tags field, and choose the tags to be added from the dropdown. Project Owners and members with permissions to configure project settings can create tags in Settings.
- Associated Test Cases - If the bug was created from a failed test case, then it will be shown in the bug details window. You may click on the test case to open up the test case details window.
- Description - The bug description can be edited by multiple team members simultaneously. Click on the Edit
button to begin real time collaborative editing button. Click Done
to exit edit mode.
Comments
Please sign in to leave a comment.