In the Settings tab of a project, you will be able to create custom statuses, types, and tags so you can customize your workflow specific to each project.
PERMISSIONS: Users will need permission to Configure Project Settings to utilize the features in this article. Project owners manage the permissions of project members.
Custom Task Statuses
Create a custom task status - In the Task Statuses tab in Settings, click Add Custom Status. It is required to add a name for a new custom status, and it must be mapped to a system defined status (Blocked, Completed, Deferred, Duplicate, In Progress, Not Started).
Adding a description for the custom status is optional. Click Create to add the custom status. By default upon creation, the checkbox for the newly created task status will be checked. A checked box means that task status is added to the project.
To make a custom task status usable within the project, the custom task status must be associated with a task type that has been added to the project.
Edit a Custom Task Status - You may edit a custom status by clicking on the menu ![]() icon of the desired status. Click
icon of the desired status. Click ![]() Edit, complete your changes, and click Update to finalize the changes.
Edit, complete your changes, and click Update to finalize the changes.

Remove a Custom Task Status from a Project - You may remove a task status from a project by clearing the checkbox next to the status.
Associate a task status to a task type - A custom task status must first be associated to a task type before it can be used in a project. In the task type tab, find the desired task type to associate the task status to and click on the menu ![]() icon. Click
icon. Click ![]() Associate statuses and choose from the list of task statuses to associate. Click Add to finalize.
Associate statuses and choose from the list of task statuses to associate. Click Add to finalize.

Custom Task Types
Create a custom task type - In the Task Types tab in Settings, click Add Custom Type. It is required to add a name for the custom type, and it must be mapped to a system defined type (Code Review, Development, General, Meeting, Other, Project Management, Requirement Analysis, Requirement Review).
Adding a description for this custom type is optional. Click on the ![]() icon to expand a text area where a description can be added. Click Save to add the custom type.
icon to expand a text area where a description can be added. Click Save to add the custom type.
By default upon creation, the checkbox for the newly created task type will be checked. A checked box means that the task type is added to the project for use.

Edit a task type - A task type may be edited if there are no associated task statuses. To edit, click on the menu ![]() icon for the task type and choose
icon for the task type and choose ![]() Edit. Make your edits and click Save to finalize the changes. You must remove associated task statuses in order to edit the task type.
Edit. Make your edits and click Save to finalize the changes. You must remove associated task statuses in order to edit the task type.

Menu options for types with associated statuses

Menu options for types with no associated statuses
Remove an associated task status from a task type - To remove an associated task status from a task type, find the associated status in the Associated Statuses column and click on the ![]() . You will be asked to confirm the removal.
. You will be asked to confirm the removal.
Custom Bug Status
Create a custom bug status - In the Bug Statuses tab in Settings, click Add Custom Status.
It is required to add a name for a new custom bug status, and it must be mapped to a system defined status (Blocked, Closed, Deferred, Duplicate, Fixed, In Progress, Not a bug, Open).
Adding a description for the custom bug status is optional. Click Create to add the custom bug status.
By default upon creation, the checkbox for the newly created bug status will be checked. A checked box means that task status is added to the project.
To make a custom bug status usable within the project, it must be associated with a Bug Type that has been added to the project.
Edit a custom bug status -You may edit a custom status by clicking on the menu ![]() icon of the desired status. Click
icon of the desired status. Click ![]() Edit, complete your changes, and click Update to finalize the changes.
Edit, complete your changes, and click Update to finalize the changes.

Remove a custom bug status from a Project - You may remove a bug status from a project by clearing the checkbox next to the status.
Associate a bug status to a bug type - A custom bug status must first be associated to a bug type before it can be used in a project. In the bug type tab, find the desired bug type to associate the bug status and click on the menu ![]() icon. Click
icon. Click ![]() Associate statuses and choose from the list of bug statuses to associate. Click Add to finalize.
Associate statuses and choose from the list of bug statuses to associate. Click Add to finalize.
Custom Bug Types
Create a custom bug type - In the Bug Types in Settings, click Add Custom Type. It is required to add a name for the custom bug type, and it must be mapped to a system defined type (Coding, General, Integration Testing, Requirement, SIT, UAT, Unit Testing).
Adding a description for this custom bug type is optional. Click on the ![]() icon to expand a text area where a description can be added. Click Save to add the custom bug type.
icon to expand a text area where a description can be added. Click Save to add the custom bug type.
By default upon creation, the checkbox for the newly created bug type will be checked. A checked box means that the bug type is added to the project for use.
Edit a bug type - A bug type may be edited if there are no associated bug statuses. To edit, click on the menu ![]() icon for the bug type and choose
icon for the bug type and choose ![]() Edit. Make your edits and click Save to finalize the changes. You may remove associated bug statuses in order to edit the bug type.
Edit. Make your edits and click Save to finalize the changes. You may remove associated bug statuses in order to edit the bug type.
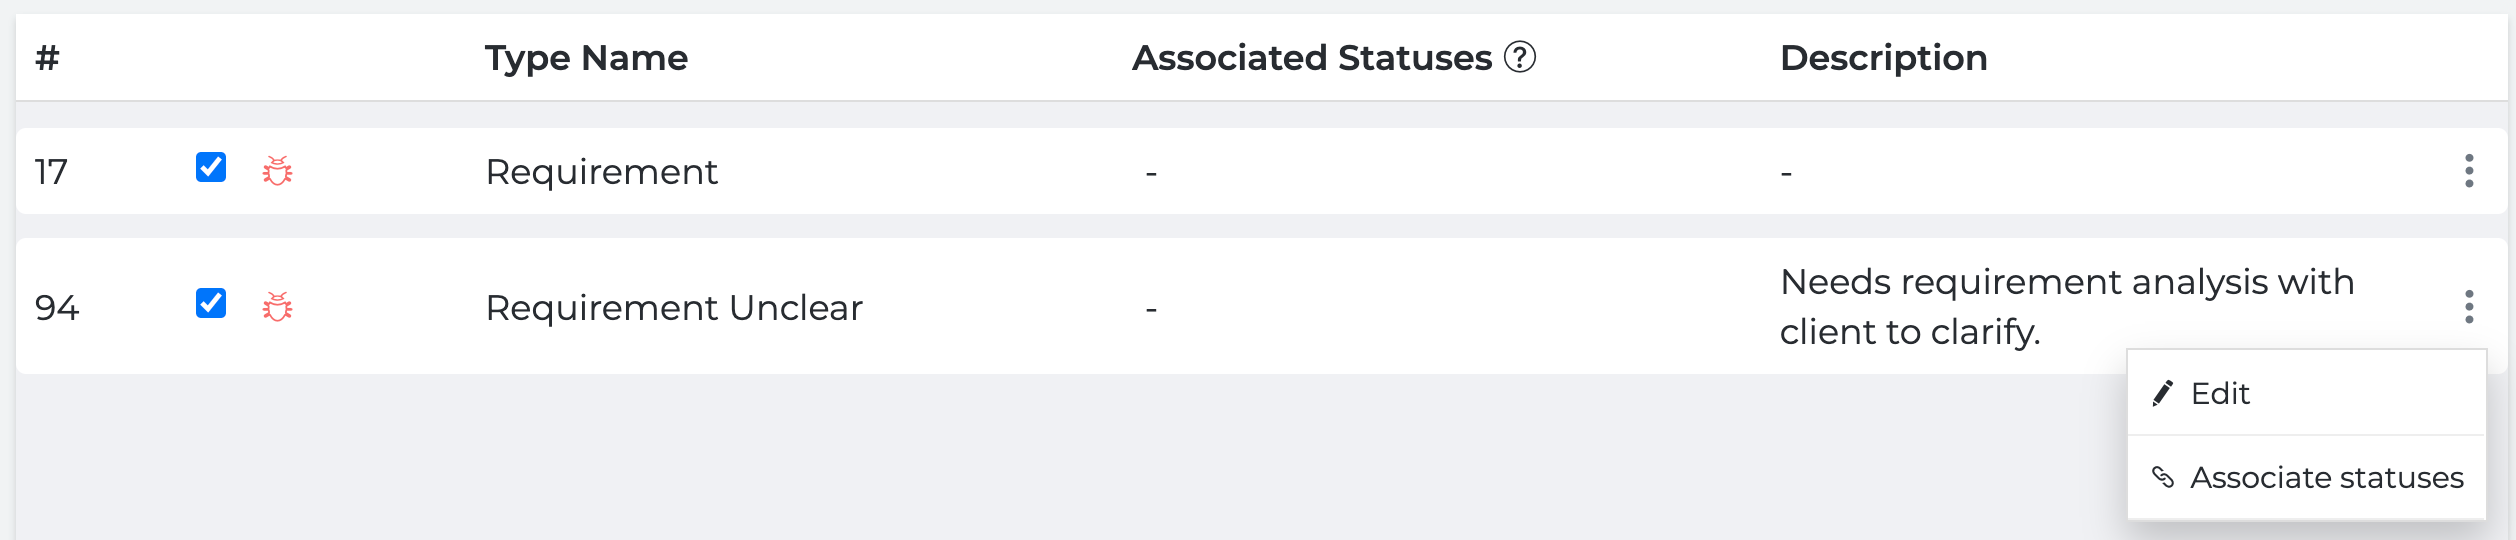
Menu options for types with no associated statuses

Menu options for types with associated statuses
Associate a bug status to a bug type - A custom bug status must first be associated to a bug type before it can be used in a project. In the bug type tab, find the desired bug type to associate the bug status and click on the menu ![]() icon. Click
icon. Click ![]() Associate statuses and choose from the list of bug statuses to associate. Click Add to finalize.
Associate statuses and choose from the list of bug statuses to associate. Click Add to finalize.
Remove an associated bug status from a bug type - To remove an associated bug status from a bug type, find the associated status in the Associated Statuses column and click on the ![]() . You will be asked to confirm the removal.
. You will be asked to confirm the removal.
Custom Requirement Types
Create a custom requirement type - In the Requirements Type tab in Settings, click Add Custom Type. It is required to add a name for the custom type and prefix. Adding a description for this custom type is optional. Click on the ![]() icon to expand a text area where a description can be added. Click Save to add the custom type.
icon to expand a text area where a description can be added. Click Save to add the custom type.
To make a custom type usable within the project, make sure it's checkbox is populated to enable it.
By default upon creation, the checkbox for the newly created type will be checked. A checked box means that the type is added to the project for use.

Edit a requirement type - In the Requirements Type tab, click on the menu ![]() icon for the desired type and choose
icon for the desired type and choose ![]() Edit. Complete your edits and click Update to finalize your changes.
Edit. Complete your edits and click Update to finalize your changes.
Custom Tags
You can use tags to categorize or otherwise label bugs, tasks, and other elements within Xebrio. Custom tags are for creating a customized labeling mechanism specific to the project.
Create a custom tag - In the Tags tab in Settings, click New Tag. It is required to add a name for the custom tag. Adding a description for this custom tag is optional. Click on the ![]() icon to expand a text area where a description can be added. Click Create to add the custom tag.
icon to expand a text area where a description can be added. Click Create to add the custom tag.
To make a custom tag usable within the project, check the box next to it in the list of tags to enable it.
By default upon creation, the checkbox for the newly created tag will be checked. A checked box means that the tag is added to the project for use.
Edit a custom tag - In the Tags tab, click on the menu ![]() icon for the desired tag and choose
icon for the desired tag and choose ![]() Edit. Complete your edits and click Update to finalize your changes.
Edit. Complete your edits and click Update to finalize your changes.
Delete a tag - In the Tags tab, click on the menu ![]() icon for the desired tag. Choose
icon for the desired tag. Choose ![]() Delete and you will be asked to confirm.
Delete and you will be asked to confirm.
Comments
Please sign in to leave a comment.